Materials:
- 5" x 7" --piece of clear vinyl
- 2 3/8" x 5.5" --binding for the top of the vinyl pocket
- 5" x 8.5" --fabric for front/inside the vinyl pocket. About 1" will show above the vinyl pocket.
- 5" x 8.5" --fabric for the back of the badge holder. About 2" will show above the back pocket, or a lot will show if you skip the optional back pocket.
- WOF x 2.5" --fabric for binding around the whole shebang, so match the front and back
- WOF x 2.25" --strap fabric* You can make this a bit wider if you prefer.
- 2 pieces of 5" x 8.5" medium fusible interfacing. I used some that was super thin, so I used 4 pieces.
*Optional Back pocket materials:
- 2 pieces of fabric, 5" x 6" --fabric for back pocket. I pieced mine with scraps.
- 2 3/8" x 5.5" --binding for back pocket
- 5" x 6" fusible interfacing
Step 1: Strap Construction
I have no photos of this step, but iron it in half lengthwise, then fold the long edges in to the middle and iron those creases. Topstitch down both long sides to keep it secure. Trim it down. Mine is about 36" long, but I'm a teensy bit short. I suggest draping it around your neck and figuring out where you want the badge to rest and trim an inch longer than that. Set it aside for now.
Strap 2: Vinyl Pocket
Prep your vinyl pocket binding by pressing it in half lengthwise. Then you are going to machine it on. Center it on a 5" end of the vinyl and sew it down with a 3/8" seam. Fold it around and sew it down. Once it is sewn down, trim the edges to match the 5" width of the vinyl and set this aside for right now. I wish I could tell you some magic trick to make sewing vinyl easy. But it isn't. I've heard you can use special feet. I find it doesn't stick to the metal on my bobbin case as much as it does to the machine body itself, so I pull and tuck so it only touches the metal.
Step 3: Main Body Construction
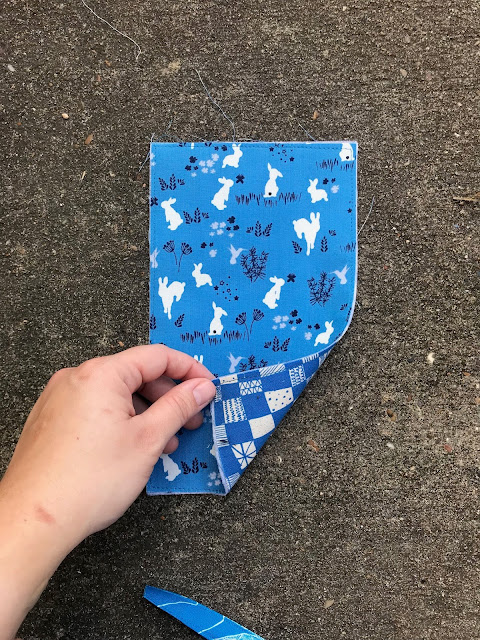
Begin by fusing one piece of interfacing to the wrong side of the front/inside of the vinyl pouch fabric. Fuse the other piece to the wrong side of the backing fabric. Put these two pieces WRONG sides together and baste around all four sides with about a 1/8" seam.
Step 4: *Optional* Back Pocket Construction
Fuse your piece of 5" x 6" interfacing to the wrong side of the outer fabric for your pocket. Put this piece and the lining fabric WRONG sides together and baste around all four sides with a 1/8" seam. Prep your pocket binding fabric by pressing it in half, lengthwise. Sew it onto the top of the pocket. I have been told I machine my bindings backwards. I sew them in place on the back side (lining), then fold over and machine them down on the front (outside) [Side note, I do the opposite if I'm hand stitching down the binding], so feel free to start on whichever side you want. You could also go crazy and hand stitch the binding down, but I was in a hurry so eff that.
Step 5: Assembly
Start off by basting the back pocket piece to the bottom of the main body backing around three sides. Then baste the vinyl pocket to the bottom front of the main body. Again, vinyl is tricky, so do your best to keep it from sticking as you go. Position your straps about 1/2" from the edge on the back top of the pouch with the raw ends aligned with the top of the fabric, and baste them in place. Here's a picture to show what I mean.
Step 6: Binding!
Now you are going to machine down your binding, just as you would on a regular quilt. Prep it by pressing it in half, lengthwise and pressing one short end under by about a 1/2". I'm not going to explain how to miter binding corners, but if you need a tutorial, the internet is full of them, though I suggest this one, except I only left the beginning bit loose for a length of about 1.5". Machine it in place, fold it over, and then sew it down by machine or by hand. I did the initial placement stitching from the back, then sewed it down on the front, but do what makes most sense to you. When you get to the top, make sure the strap is not caught anywhere, but you will be catching the strap ends since they are already basted in place. That's it! For a final bit of security, I put another row of stitching at the very top edge to hold the strap in place since it was pointing down after binding but needs to be pointing up.
Step 7: Enjoy!


