24 December 2014

Lemon, Cranberry, Pecan Scone Recipe

I wish there was enough time to update my blog properly with all the sewing and crafting I have been accomplishing lately, but there just isn't. I have also been doing a decent amount of cooking and baking, so here we go with my new favorite recipe: Lemon, cranberry, and pecan scones! The lemons came from the lemon tree in my fiance's friend's yard. The pecans came from my mom's friend's yard.

Lemon, Cranberry, and Pecan Scones

Lemon, cranberry, pecan scones!
Ingredients
  • 2.5 cup flour (I prefer unbleached)
  • 1/3 cup sugar
  • 1 tablespoon baking powder
  • 1/2 teaspoon salt
  • zest of 2 lemons (if you feel bad about wasting the juice, you can make lemonade or mix some lemon juice with powdered sugar to drizzle on the scones)
  • 12 tablespoons COLD butter (1.5 sticks, cut into 1/2" cubes)
  • 2 eggs
  • 1/2 cup heavy cream
  • 1/2 cup chopped pecans
  • 1 cup fresh cranberries, cut in half if they are huge
Directions
  1. Preheat an oven to 375. Line baking sheets with parchment paper or spray them. Set these aside. 
  2. Mix flour, sugar, baking powder, salt and lemon zest. 
  3. Add in the cold cubed butter. It needs to be cold so that when it bakes it expands and leaves air pockets of deliciousness. Mix the butter either with your hands or a mixer until it seems well incorporated and has the consistency of peas. 
  4. Put this bowl in the fridge while you whisk the eggs to scramble them. Then add the heavy cream to this and whisk well. 
  5. Get the dry/butter mixture out of the fridge and add the egg/cream mixture. You will need a mixer to combine these. Trust me, it will be thick. 
  6. Then add in the pecans and mix well. 
  7. Finally you need to add in the cranberries. Do not over-mix or you will break them and turn the dough pink. 
  8. Separate the dough into 8-10 equal blobs and plop them onto your prepared baking sheets. 
  9. Bake for 20-21 minutes or until the scones are golden brown and a toothpick comes out clean. 
  10. Then enjoy!

16 October 2014

Big and Little Finishes

First off, I finished the quilt for my college roommate and her boyfriend! Woot! They just bought their first house together. You might not be able to tell, but the binding alternates between the dark turquoise and black fabrics. The background is actually made up of 4 different neutrals (hence the random bright square that I love!) because I mostly worked from my stash.
Untitled

This is their band! Katie is the bass player (right) and her boyfriend is on guitar (left).


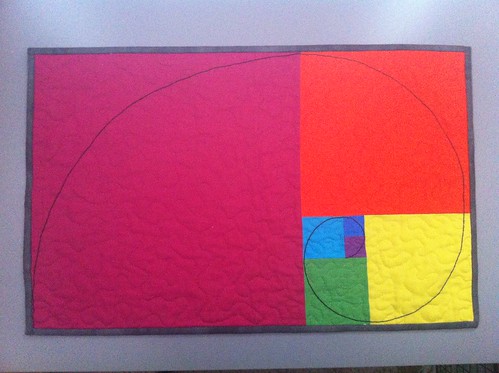
I also finished up a mini quilt inspired by Fibonacci's number/golden spiral. I made this for my former teacher and professor. I did FMQ in matching thread for each square, then hand stitched the black spiral in perle cotton.
Fibonacci mini quilt

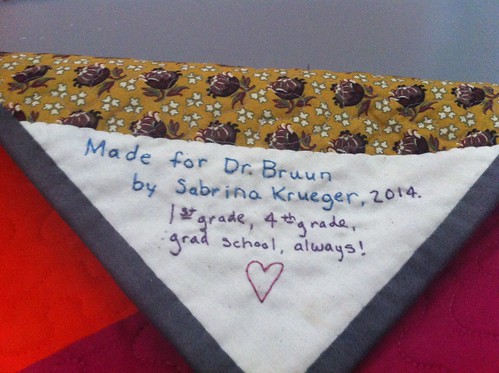
When she did her student teaching, I was one of her first grade students. Then she was my math teacher in fourth grade. Years later, she was my professor when I was in graduate school. I guess you could say I will be her student for life! This was my first time to make a real, stitched label for a quilt. Please don't laugh at my horrible stitching.
Label for Fibonacci mini quilt. I'm not the tidiest of stitchers.

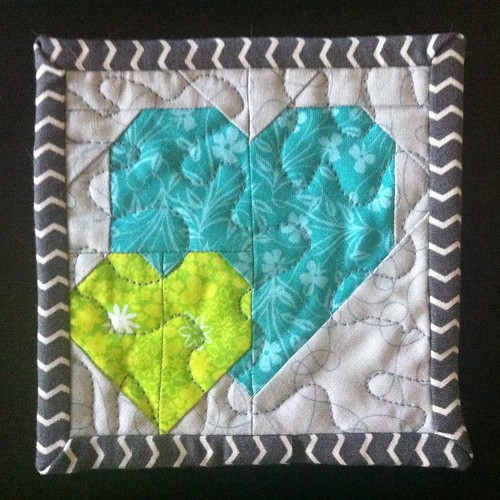
If I am in my sewing room working, and Luna [Devourer of Worlds] aka our bunny is free, I have the door closed so she can't escape the sewing room. It occurred to me the other day that this meant my water glass was stuck in another room because there are no coasters in my sewing room. Most people would just grab a coaster from the other room, but not me. No. I set out to make myself a coaster that would match my room, and here it is! I found the paper pieced pattern over here and reduced it to make it into a 4" finished block.
Little coaster

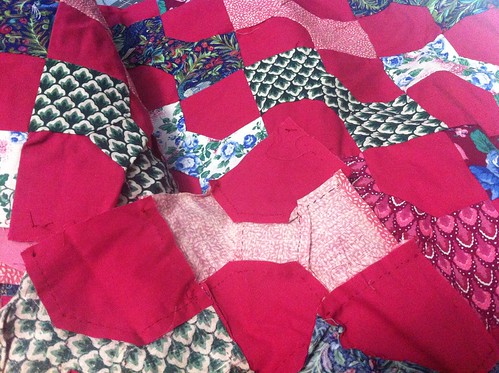
This week I also received the first of four quilts from my aunt. They were pieced by her grandmother, but never finished. The other three are finished fronts, but this one isn't altogether yet. All the blocks are hand stitched, and about 3/4 of the rows are assembled and stitched together. The rest are either individual blocks or rows that need to be attached. I have never done any hand stitching, so the poor quilt is going to have to deal with some machine stitching.
Inherited quilt project

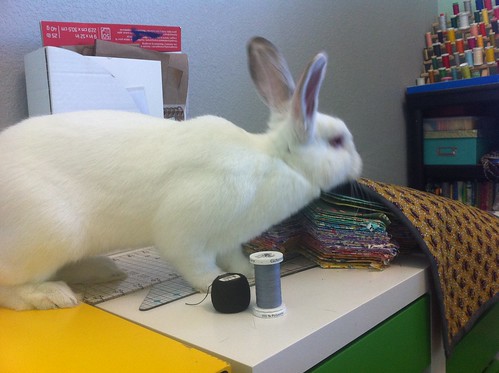
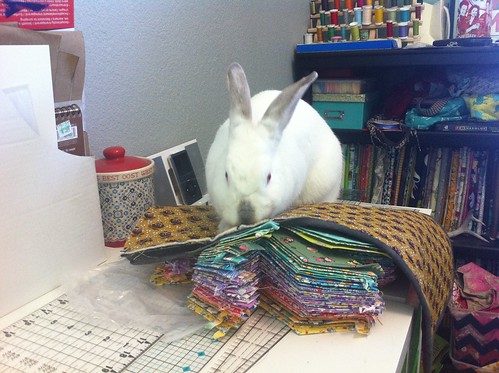
I leave you with Luna helping out in the sewing room.
Untitled

She was licking the back of the Fibonacci mini and biting off (chewing on?) loose threads. I'm not sure the licking was actually helpful, but the thread snipping definitely saved me some time!
Untitled

Thanks, Luna!

08 October 2014

Busy

I have been busy: Busy teaching, busy sewing, busy cooking, busy bunny wrangling, busy getting engaged, busy traveling (went to Germany for Oktoberfest with my boyfriend fiance), busy writing my first pattern! Eeeeeeeek!!! So many exciting things!

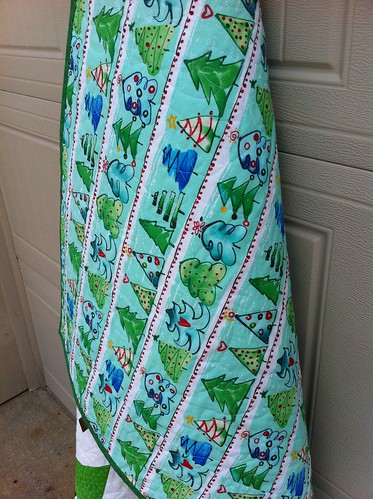
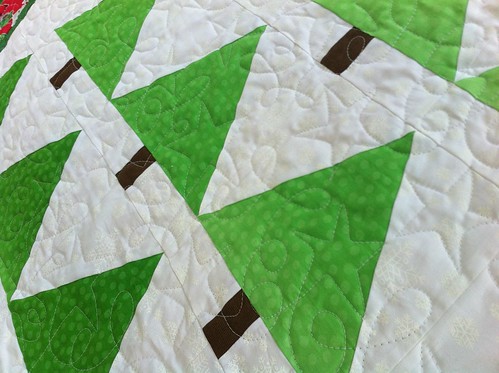
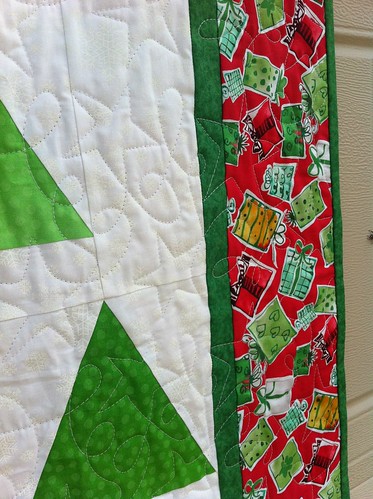
This is the quilt I'm writing a pattern for. I'm hoping to have it for sale online in the next week. It is all paper pieced, which gives you the really sharp tree points.
Sneak peak!
Sneak peak!

Sneak peak!

I have been working on a quilt that requires lots of tiny stars.
Teeniest paper piecing I have ever attempted


Most are Lemoyne stars, one is paper pieced.
So many teeny tiny stars


I finished making all the blocks for the quilt I started planning over here.
The blocks are ready to go

The rest of the blocks


And I picked a layout for them and have them stitched into rows,
Blocks in place and ready to be sewn into rows!


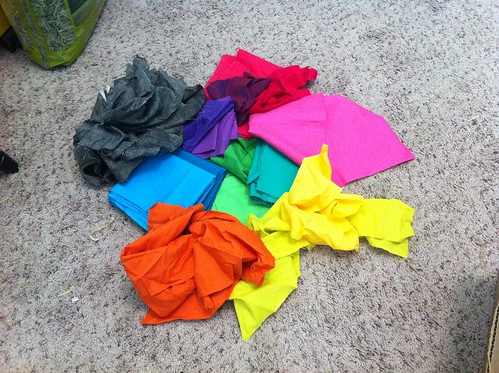
I picked more fabric for my Sew Sew Modern swap.
Partner, I pulled some linens, shot cottons, and solids. How is this? Would you eliminate or add certain colors?

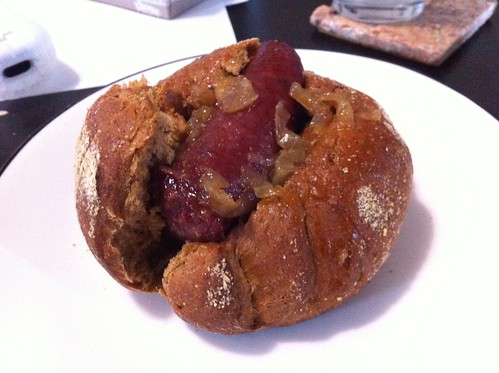
As for cooking, here are some rolls from scratch filled with elk sausage and onions sauteed in beer.
Elk sausage with caramelized onions on homemade rolls

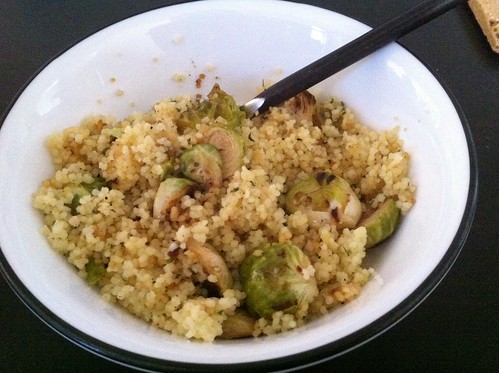
Then we have cous cous with Brussels sprouts.
Cous cous and sauteed Brussels sprouts

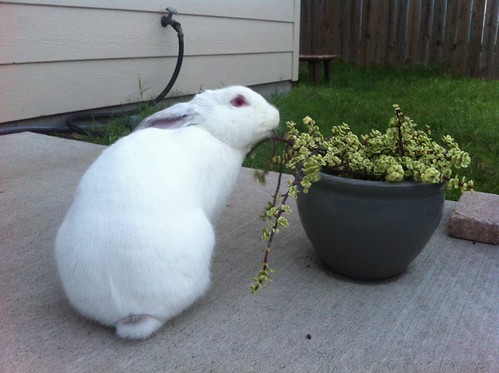
And a bunny who was very sad that I was cooking the Brussels sprouts and not just feeding them to her. She was so mad that she went to eat my plants.
Luna Bunny nomming all the things


She also discovered the window in the back door!
Luna Bunny peaking in the back door!

23 September 2014

Broccoli Cheese Soup Recipe

I love broccoli cheese soup! Luckily it is so simple to make. I like to joke that it is easier to make broccoli cheese soup from scratch than it is to fight an electric can opener in order to open a can of it.

Ingredients
  • 1/2 cup (1 stick) butter
  • 1-2 onions, diced (I usually use 1 but accidentally bought 2 once and it was extra tasty!)
  • 4-6 cloves of garlic, minced (you can use more if you love garlic or if your city is plagued with mosquitos)
  • 1/3 cup all-purpose flour
  • 2 cups of milk
  • 2 cups of broth (veggie, chicken, or beef)
  • 2 cups half-and-half
  • 1/4 tsp. nutmeg
  • 4 heads of broccoli, chopped
  • salt and pepper
  • 3 cups grated, extra-sharp cheddar
Directions

Peel and mince your garlic.

Also dice up your onions. I have swim goggles that I wear when chopping onions. They work really well! No more tears!

Wash your broccoli heads.

Chop those up, as well. I like bigger pieces of broccoli and I also use a majority of the stems (just not the big central stalk).

Now we are done with prep-work and can start cooking! Melt the butter in a large pot over medium heat. Add the onions and garlic to this. Cook until they are starting to brown just a tad (3-4 minutes), and add the flour. It will thicken quickly! So quickly that I couldn't stir and get a picture. *sigh*

Stir that for about a minute, and then add your milk, broth, and half-and-half. I used beef broth. More specifically, I used 2 cups of water and one of the gelatinous broth blobs that Knorr makes.

Once it is all mixed up, add in your nutmeg and keep mixing.

Then add in the broccoli, salt, and pepper. I always hate recipes that don't tell you how much salt and pepper to use, but I was getting sick when I made this, so my amounts were probably insane. When in doubt, use too little, and add more to each serving individually.

Reduce heat to low, cover, and simmer, stirring the soup up every 5 minutes or so.

Once the broccoli is tender, which can take 20-30 minutes, remove the soup from the heat and add in the grated cheddar and mix until it all melts in.

Then you have lots of options. You can serve the soup in bowls...

Or you could whip up some bread bowls and serve the soup in that. Recipe for bread bowls can be found over here.

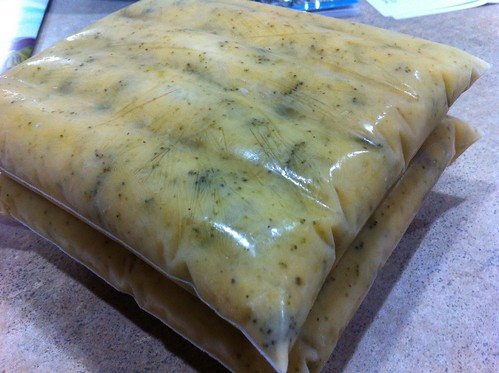
Or you can freeze it up for later. It microwaves well, so putting leftovers in the refrigerator also works well. 
Frozen broccoli cheese soup

18 September 2014

Dulce de Leche Cupcakes

These cupcakes without the caramel stuffing are tasty; with caramel stuffing, they are ridiculously tasty! They are dense, which is especially important if you plan on stuffing them because they are easy to cut.

Picture-less recipe is at the bottom of this post. 

Before you start the cupcakes, you need to leave 8 hours to make the easy peasy dulce de leche. To do this, take a can of sweetened condensed milk and remove all labels. Throw it in a crock pot on low for 8 hours. After it cools, you have dulce de leche or easy peasy, gooey caramel!

Then we start on the cupcakes. It might seem tedious, but this recipe uses two bowls. In the first, add the flour, salt, baking powder, and baking soda. Mix this up.

In the second bowl, combine the sugar and eggs.

Mix these together.

Keep mixing until they are kind of frothy.

Add the vanilla.

Then add the butter and mix again.

Then add this wet mixture to your dry mixture and mix. Mix. Mix. Mix.

Then you add some sour cream. Can you guess what you do next? MIX!

Then you scoop your batter into wrapper lined cupcake pans.

Bake 10 minutes, then rotate the pans. This is what they look like after 10 minutes.

Then bake them for 10 more minutes and they should be done and will look like this.

Mmm! Beautiful cupcakes!

If you plan on stuffing them, cut about a 1" hole out of the middle.

Then fill the cavities with gooey caramel goodness.

While you are at it, add some caramel to your frosting!

Then frost. I use a single recipe of frosting for a double batch of cupcakes because I do not like a lot of frosting.

Then enjoy your cupcakes!

If you want the cupcakes to be salted caramel, simply add a dash of coarse salt right before serving. Om nom nom.


Directions

  • Prepare caramel by putting a can of sweetened condensed milk (with labels removed) in a crock pot on low for 8 hours.
  • Preheat the oven to 350 degrees. Line pans with cupcake wrappers. Single makes about a baker's dozen, double makes about 29.
  • In bowl one, mix together the flour, baking powder, baking soda, and salt.
  • In bowl two, beat together the sugar and eggs until slightly frothy. This can take up to 2 minutes.
  • Add the vanilla and beat together.
  • Add the butter and beat together.
  • Combine mixtures from bowls one and two with beater.
  • Mix in the sour cream.
  • Fill the cupcake wrappers. 
  • Bake for 10 minutes, then rotate pans. 
  • Bake for another 10 minutes or until cupcakes are golden and a toothpick comes out clean.
  • Once cupcakes are cooled, cut a small circle out of the top. 
  • Divide the caramel between the cupcakes, reserving some for the icing.
  • Prepare icing by beating together softened butter, powdered sugar, and caramel until smooth.
  • Frost the cupcakes.
  • If you want salted caramel cupcakes, sprinkle tops of cupcakes with coarse salt just before serving.
  • Enjoy!