30 June 2014

Sewing and Cooking (Plus Recipe)

Let me preface this post by saying that I have no sewing machine. This makes my soul hurt and my sewing table looks so wrong. Luckily it isn't gone for good, just getting some routine maintenance done, which could take up to four weeks. Ahhhh!

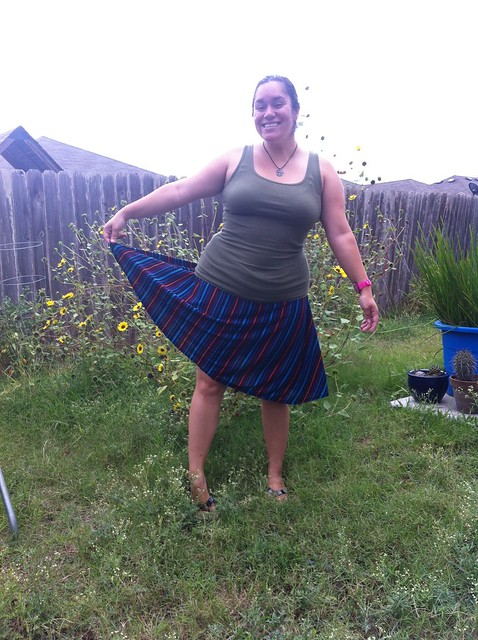
Right before I dropped off my machine, I whipped up this skirt. I didn't follow a pattern or tutorial, just copied something I like from my closet and went to work!
Untitled

To tide me over, I have been working on some hand stitching. Here you can see the completion of one embroidery project and the start of another.
Untitled

Bunny is in perle, everything else is regular DMC floss. The bunny is also on its way to a new home!
Untitled

Untitled

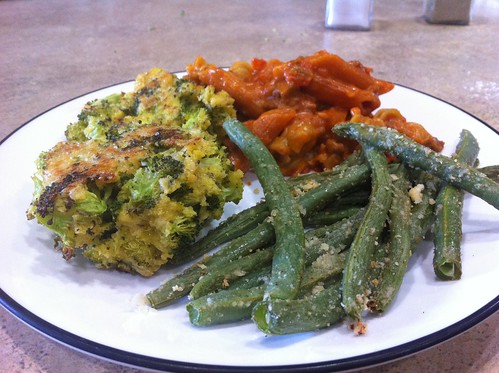
Also cooking! There has been plenty of cooking as of late including a wonderful collection of things on the menu for tonight. Cheeseburger macaroni (think Hamburger Helper, but not from a box) which was super tasty, some parmesan baked green beans, and cheesy broccoli "bites." There was absolutely no way to roll the broccoli into bite sized pieces, so I decided to call them something bigger. At first I went with hills, then mounds, and finally it came to me... Broccoli batholiths! All three were so tasty and the flavor combos were perfect together. Broccoli Batholiths & Cheeseburger Macaroni & Parmesan Green Bean Fries
Untitled

FYI: A batholith is a giant [almost] mountain sized rock. We have one here in Texas, Enchanted Rock, that my family has climbed almost every year since the 30s. Fun fact! You can't say batholith without sounding like someone with a lisp saying "basilisk."

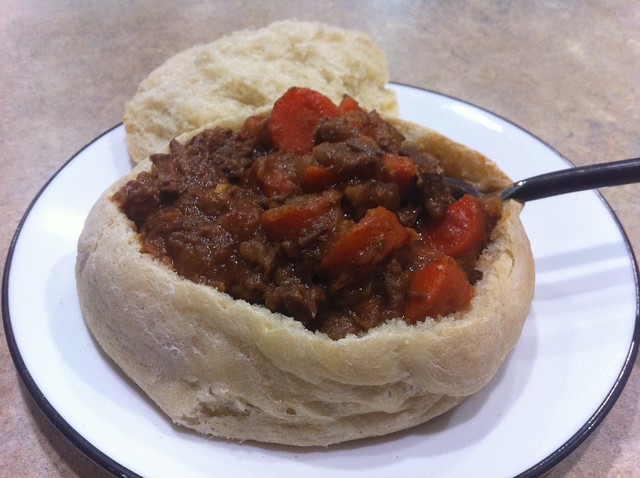
Next we have Guinness Stew with homemade bread bowls. Bread bowls were the first bread I ever made and they are so simple. After years of practice, here is my recipe.
Untitled

Homemade Bread Bowls

  • 1 package active dry yeast
  • 1.25 cups warm water (110F degrees)
  • 1 teaspoon granulated sugar
  • 1.5 teaspoon salt
  • 1/4 teaspoon garlic powder
  • 1 tablespoon vegetable oil or olive oil (plus a teensy bit more for greasing bowl when dough is rising)
  • 3.5-4 cups flour
  • parchment paper to cover baking sheet
  • corn meal, for sprinkling on parchment paper
  1. Dissolve and mix yeast and sugar in warm water. Let it sit, untouched, for 10 minutes.
  2. Mix in salt, garlic powder, oil, and 2 cups of flour. 
  3. Mix in remaining flour 1/2 cup at a time until it is just starting to not stick to everything like crazy. You might not need to add it all. 
  4. Knead the dough for about 5-6 minutes.
  5. Oil your mixing bowl and put the dough ball back in. Flip it around so it is oily. 
  6. Let the dough rise for about 40 minutes in a warm area. 
  7. Divide into 4 loaves and place on a parchment paper covered, corn meal sprinkled baking sheet.
  8. Let the little loaves rise for 35 minutes.
  9. Bake at 400F degrees for 20-25 minutes or until golden. 

25 June 2014

Eyeball Finish!

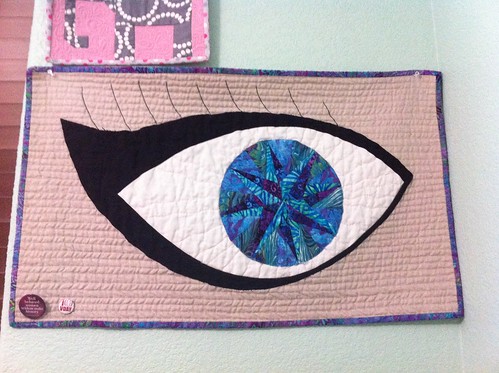
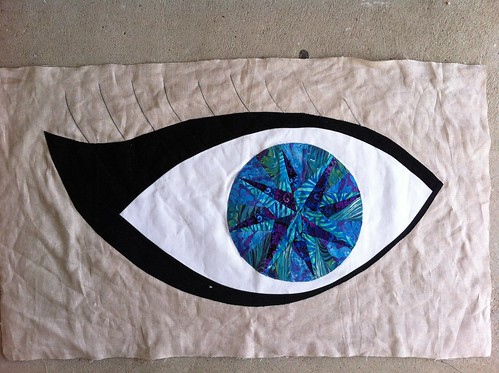
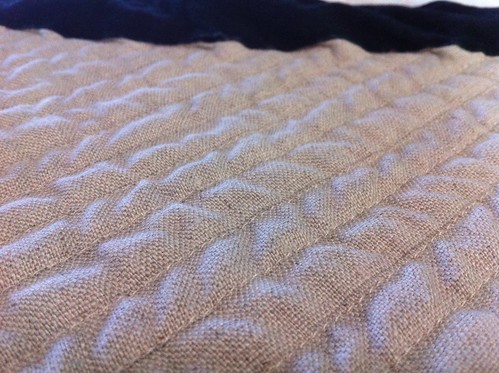
I am frantically trying to finish writing my new lab manual, so I really haven't had much time for sewing. Luckily I did finish my LYoF goal for the month, the eyeball quilt! Original link-up post is over here.
Untitled

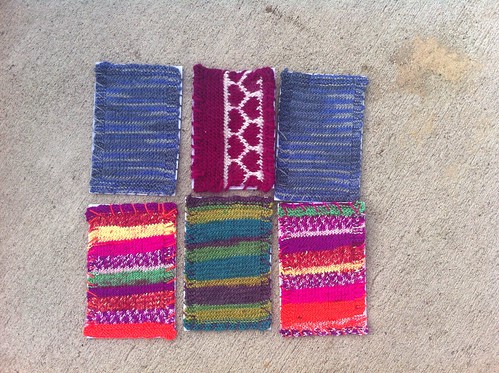
I have also been knitting some postcards for Postcrossing. I have already sent one to someone in Hong Kong, thanks to Postcrossing. I came up with a basic tutorial if you want to make some yourself.
Untitled

They DO make it through the mail, though you have to drop it off at the post office and pay a little extra because it can't go through the machines and needs to be sorted by hand ($0.70 for domestic, $1.35 for international). I sent one to my friend and she shared this photo with me after it arrived. Thanks, Toni!

Knitted Postcard Tutorial

I have been knitting some postcards for Postcrossing. I have already sent one to someone in Hong Kong, thanks to Postcrossing. Want to make some yourself? Here you go!
Untitled


For most of these I used size 1 yarn and US 3 needles, because that is what I had and it seemed to work well. If that is what you will be using, follow this. I have tips and tricks at the end.

Cast on about 29 stitches. There is a lot of wiggle room because you can stretch the rectangle later, or trim your card. I suggest anything between 27 and 31 stitches, but 29 seemed to work with most yarns I used.

Rows 1-5, Knit.
Row 6, Knit 4 for border, knit middle, knit 4 for border. (Borders are "garter" stitch)
Row 7, Knit 4 for border, purl middle, knit 4 for border.
Repeat Row 6 for even rows aka knit the even rows.
Repeat Row 7 for odd rows. (Odds and even combined is "stockinette" stitch)
After finishing an even row, Knit last 5 rows and bind off.
Then stitch the rectangle to a blank 4" x 6" card, like this. And that's it!

If you are like me and you forget to count, here is an easy guide to tell if you need to knit or purl.

If you are ready to start a row and it looks like this, you need to knit.

If you are about to start a row and it looks like this, you need to purl.

This picture shows the difference between garter (border) and stockinette (middle) stitches.

 They DO make it through the mail, though you have to drop it off at the post office and pay a little extra because it can't go through the machines and needs to be sorted by hand ($0.70 for domestic, $1.35 for international). I sent one to my friend and she shared this photo with me after it arrived. Thanks, Toni!


16 June 2014

New Yorker Geese Pillow

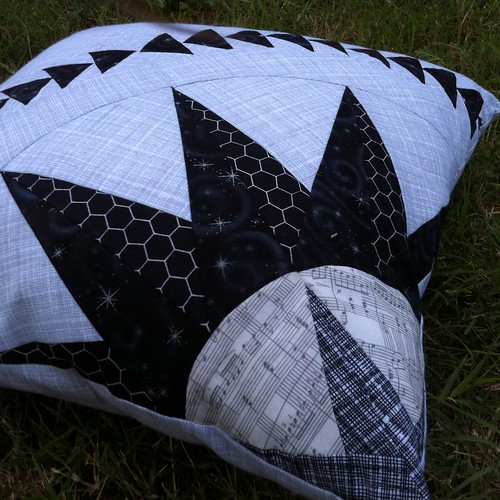
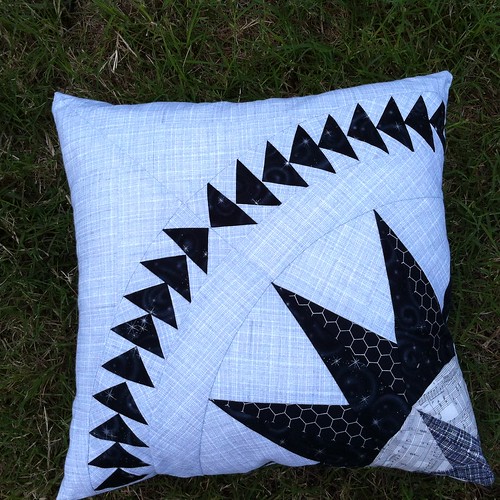
I have been wanting to try my hand at more curved piecing lately, and decided the best way would be a New York Beauty block.  The paper pieced pattern came from over here. But I didn't want to commit to a whole giant block because I'm scared of curves, so I made 1/4 of a block for a smaller throw pillow cover.
Untitled

Well when I finished the block I realized it would look really boring with part of a star in the corner of the pillow, so I drafted some flying geese to go around the edge. I guess you could say I started to get comfortable with curves. I did not mean for the geese to meet in the middle and wanted them to all go the same direction, but I actually like it more this way.
Untitled

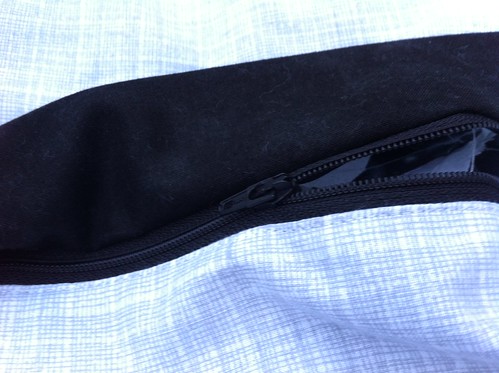
I even finished the back off with a hidden zipper closure.
Untitled

Oh! Oh! The best part is that everything (fabric, zipper, AND pillow form) came from my stash! YES!

Walnut Scone Recipe

While in Austin, last week, I had a walnut scone that was nearly perfect! Unfortunately Austin is almost 4 hours away, so I needed a better walnut scone option. Every recipe I found online was walnut maple, not plain walnut. So I started experimenting and came up with this walnut scone recipe.

Walnut Scones (makes about 8)
  • 1 cup walnuts (toasted or not)
  • 2 cups flour
  • 1/4 cup granulated sugar
  • 1/4 cup brown sugar
  • 2 teaspoons baking powder
  • generous 1/4 teaspoon salt
  • 1 stick of butter, cold!
  • 1 egg
  • 1.5-2 teaspoons vanilla
  • 2 tablespoons milk
First off you have to preheat your oven to 400F degrees and gather your ingredients.

Now you need to prepare your walnuts but making sure they are similar in size. They do not need to be tiny, shoot for about 1/2" pieces. Depending on the flavor you want, you might want to toast them (or half, if you can't decide and want diverse walnut flavors).

If toasting, spread walnuts in a layer on your baking sheet and pop in the preheated oven for about 4 minutes. If not toasting, skip this and start making your dough.

For the dough, mix the flour, sugars, baking powder, and salt. Chop in your cold butter and use a pastry cutter or your hands to lightly combine the butter with flour. You want to use cold butter and leave some small clumps of butter because chunks of butter will help make the scone airy. If you use your hands to mix, like I did, you might want to pop the mixture in the freezer for a few minutes to make sure the butter is not completely melted. Then add in your egg, vanilla, and milk and mix! You should end up with a sticky dough like this.

Divide the dough into 8 equal parts and roll/squish them into flattened balls. Put these on a parchment paper lined baking sheet.

Bake for 14-17 minutes until they are golden and beautiful on top!

The bottoms should be a dark golden caramel color.

Mmm, then enjoy!

10 June 2014

Lazy Summer

...Emphasis on the LAZY.

I really am not getting much sewing done these days, but in my defense, I have still been staying busy. People have been coming in to visit from out of town, I'm going to the gym a lot, then spent half the weekend brewing beer and the other half taking care of a sick dog. Yay!

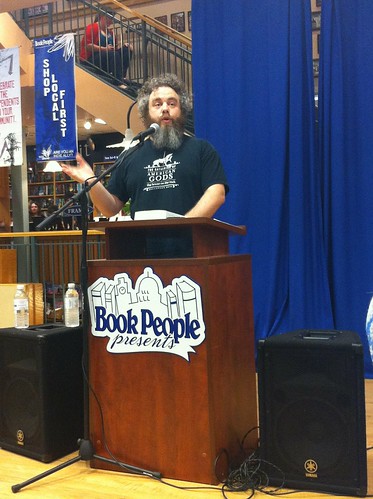
Then yesterday my boyfriend and I decided to drive the 3ish hours to Austin to hear and meet Patrick Rothfuss, an absolutely amazing fantasy author. If you even remotely enjoy fantasy, check his stuff out! Totally worth cramming in 7 hours of driving into a 11 hour period of time because he was so hilarious and charming. Here he is in all his glory!
Untitled

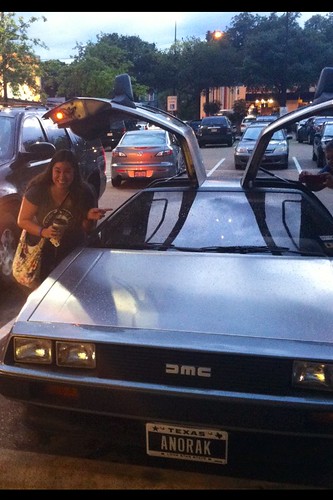
Ernest Cline, another great fantasy author (or does he count as sci-fi?), stopped by the reading/signing and parked his DeLorean out front for everyone's enjoyment. Here I am full of enjoyment and coffee in preparation for the 3ish hour drive home.
Untitled

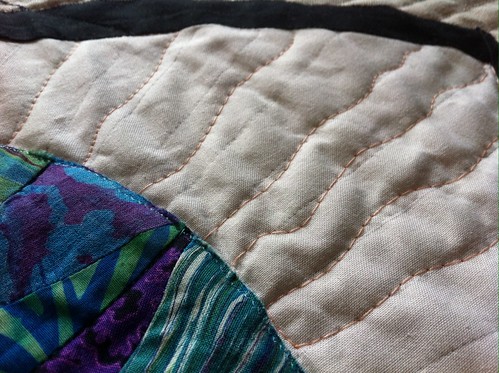
But if we want to look at actual sewing, here is what I have accomplished. Most importantly, progress was made on my goal for the June edition of LYoF. I quilted the veins in the eyeball quilt and luckily I like the way they came out. I say luckily because I ripped and restitched three times before this point. Ignore the reference markings that will [hopefully] wash out.
Eye quilting

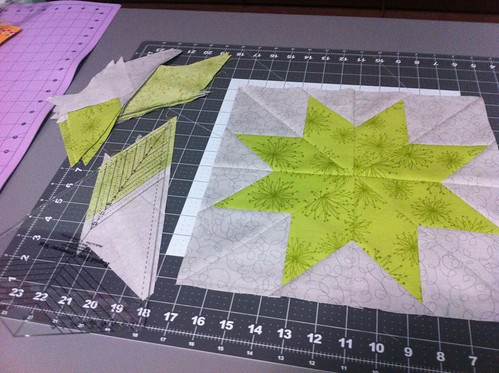
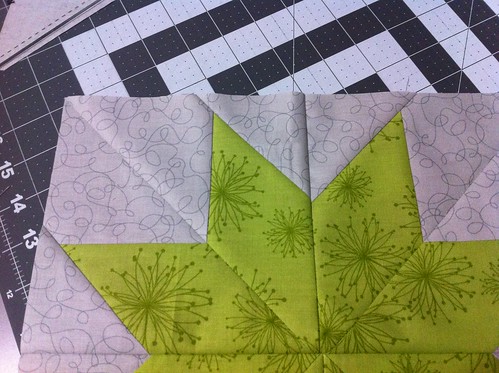
I also started using my "Rapid Fire Lemoyne Star" ruler that had been sitting on a shelf since I purchased it on New Years day. It makes 8 point stars ridiculously simple. Don't ask what I'm using these stars for, because I have not a clue.
Untitled

It is supposed to also make them fast. Once I practice a little more and and use it without stopping to read directions, it feels like it will be tremendously quick! But who cares about that, because look at these seams! Thanks, ruler!
Untitled

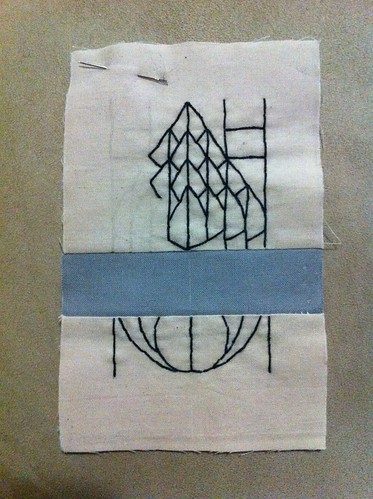
On Sunday I was accidentally elected as Vice President of the local homebrewing club. I guess that means it is time for me to finally start wearing a name tag, huh? But my hesitation is not that I don't want people to know my name but in the hatred of a hypothetical plain white tag crudely bescribbled with "Sabrina". For over two years I have been talking about sewing a cute one, but it had to do with beer and designs like that are apparently rare. Then I found this beer at a Whole Foods in Austin yesterday.

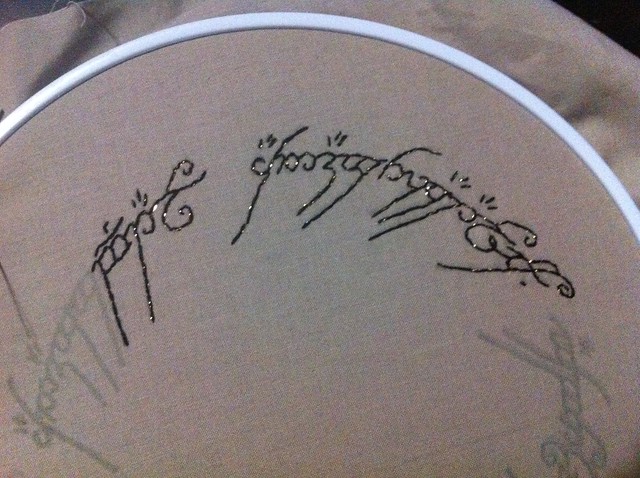
Zomg! Art deco hop?!?! SOLD! Have yet to actually taste it, but it is chilling in the fridge. So I tried to brainstorm how quickly I would want to commit seppuku if I tried to applique all the teeny tiny bits. Maybe embroidery is the answer? I'm going to use the space where the beer name was for my name. I already got started stitching the outline. Mine is not that awesome, but maybe with some color it will be. Side note: I now want an art deco hop tattoo.
Untitled

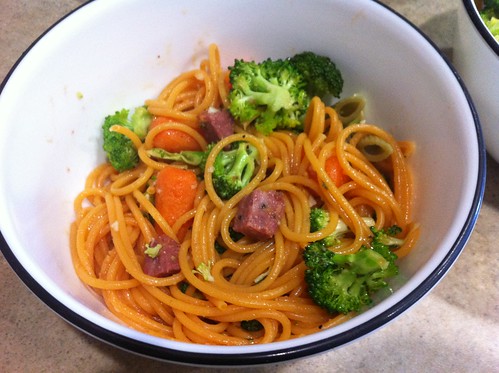
Then we have some cooking... Let's start with veggie pasta (no, really, the noodles are made of veggies) with more veggies, tons of garlic, and venison summer sausage.
Untitled

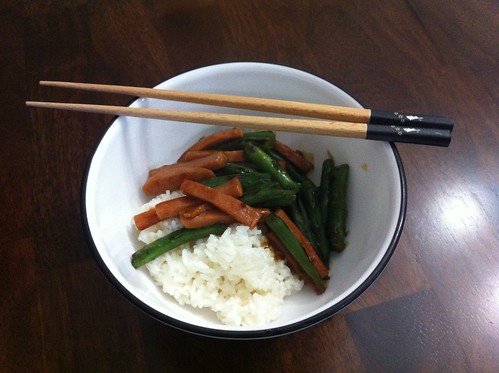
Followed by a recreation of my favorite dish in Hawaii, green bean and spam stir fry with coconut rice. The recipe needs a little tweaking, so I'm not ready to share yet. Sorry.
Untitled

Aaaand that's it. What have you been up to?

01 June 2014

Eyeball: June LYoF

Before I knew much about quilting (like 4 years ago), I decided to make an eyeball quilt. I didn't know what paper piecing was. I didn't know how in the world to make a y-seam. I didn't know how applique worked. I had no idea to piece curves. I was also completely self taught. So deciding to make a curved eyeball with intricate piecing and y-seams was a totally realistic challenge. NOT!

What was I thinking??

Four years ago, this was the best I could come up with. I'm still amazed that I did the star without paper piecing! The middle is a little wonky because I didn't know how to stitch stuff together. Also the applique was grotesque.
Eye

About one year ago, I finally picked it back up. I un-appliqed the iris and did a much better job. I also picked this as my first try at piecing curves. So the whites of the eye are actually pieced to the black cat-eye makeup.
Pieced my first curves!

I also added some eyelash quilting to spruce it up. Then I got stuck AGAIN and let it sit.
Eyelash quilting on my eye quilt

I picked it up again in the beginning of this year and decided to add in half inch spaced straight line quilting on the background fabric.
Untitled

Now I'm making it my April Lovely Year of Finishes goal to finally finish this! All that's left is to decide how to quilt the whites of the eye, then to do whatever that is and to bind it! This should be totally do-able. Right?

Wait a minute, if this was totally do-able, wouldn't it be done already?!