16 February 2018

Badge Holder Tutorial

I'm going to attempt to be as clear as I possibly can be with this tutorial, but the thought of writing it up came as a bit of an afterthought, so I don't have pictures of every step (specifically the beginning steps). I will be as verbally detailed as possible, but if anything is unclear, please let me know. The back pocket is totally optional, by the way. 

Materials:
  • 5" x 7" --piece of clear vinyl
  • 2 3/8" x 5.5" --binding for the top of the vinyl pocket
  • 5" x 8.5" --fabric for front/inside the vinyl pocket. About 1" will show above the vinyl pocket.
  • 5" x 8.5" --fabric for the back of the badge holder. About 2" will show above the back pocket, or a lot will show if you skip the optional back pocket. 
  • WOF x 2.5" --fabric for binding around the whole shebang, so match the front and back
  • WOF x 2.25" --strap fabric* You can make this a bit wider if you prefer. 
  • 2 pieces of 5" x 8.5" medium fusible interfacing. I used some that was super thin, so I used 4 pieces. 
*Optional Back pocket materials:
  • 2 pieces of fabric, 5" x 6" --fabric for back pocket. I pieced mine with scraps. 
  • 2 3/8" x 5.5" --binding for back pocket
  • 5" x 6" fusible interfacing
Step 1: Strap Construction
I have no photos of this step, but iron it in half lengthwise, then fold the long edges in to the middle and iron those creases. Topstitch down both long sides to keep it secure. Trim it down. Mine is about 36" long, but I'm a teensy bit short. I suggest draping it around your neck and figuring out where you want the badge to rest and trim an inch longer than that. Set it aside for now. 

Strap 2: Vinyl Pocket
Prep your vinyl pocket binding by pressing it in half lengthwise. Then you are going to machine it on. Center it on a 5" end of the vinyl and sew it down with a 3/8" seam. Fold it around and sew it down. Once it is sewn down, trim the edges to match the 5" width of the vinyl and set this aside for right now. I wish I could tell you some magic trick to make sewing vinyl easy. But it isn't. I've heard you can use special feet. I find it doesn't stick to the metal on my bobbin case as much as it does to the machine body itself, so I pull and tuck so it only touches the metal. 

Step 3: Main Body Construction
Begin by fusing one piece of interfacing to the wrong side of the front/inside of the vinyl pouch fabric. Fuse the other piece to the wrong side of the backing fabric. Put these two pieces WRONG sides together and baste around all four sides with about a 1/8" seam. 

Step 4: *Optional* Back Pocket Construction
Fuse your piece of 5" x 6" interfacing to the wrong side of the outer fabric for your pocket. Put this piece and the lining fabric WRONG sides together and baste around all four sides with a 1/8" seam. Prep your pocket binding fabric by pressing it in half, lengthwise. Sew it onto the top of the pocket. I have been told I machine my bindings backwards. I sew them in place on the back side (lining), then fold over and machine them down on the front (outside) [Side note, I do the opposite if I'm hand stitching down the binding], so feel free to start on whichever side you want. You could also go crazy and hand stitch the binding down, but I was in a hurry so eff that. 

Step 5: Assembly
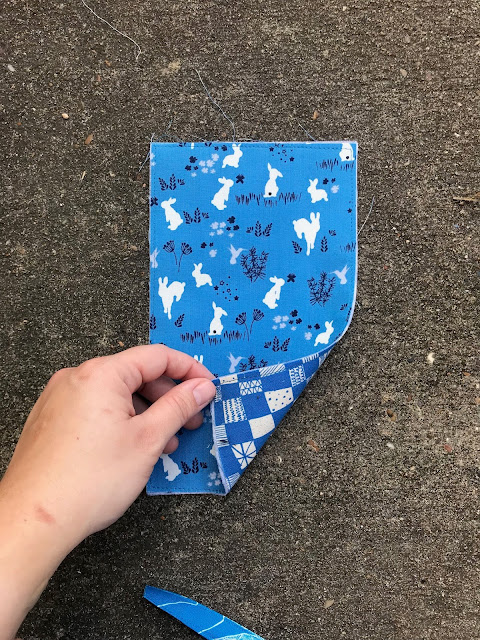
Start off by basting the back pocket piece to the bottom of the main body backing around three sides. Then baste the vinyl pocket to the bottom front of the main body. Again, vinyl is tricky, so do your best to keep it from sticking as you go. Position your straps about 1/2" from the edge on the back top of the pouch with the raw ends aligned with the top of the fabric, and baste them in place. Here's a picture to show what I mean. 

Step 6: Binding!
Now you are going to machine down your binding, just as you would on a regular quilt. Prep it by pressing it in half, lengthwise and pressing one short end under by about a 1/2". I'm not going to explain how to miter binding corners, but if you need a tutorial, the internet is full of them, though I suggest this one, except I only left the beginning bit loose for a length of about 1.5". Machine it in place, fold it over, and then sew it down by machine or by hand. I did the initial placement stitching from the back, then sewed it down on the front, but do what makes most sense to you. When you get to the top, make sure the strap is not caught anywhere, but you will be catching the strap ends since they are already basted in place. That's it! For a final bit of security, I put another row of stitching at the very top edge to hold the strap in place since it was pointing down after binding but needs to be pointing up. 

Step 7: Enjoy!


09 September 2017

Bunny Quilt, Two Ways

Over the summer, Marie and I decided to work together on a quilt for our friends who were having a baby. This incredible R2D2 quilt was the result of that collaboration. It was the first time either of us had used the pre-printed interfacing grid and we were both shocked at how quickly it seemed to go together. 

While visiting my husband's family over the summer, I made a stop by Sew Special Quilts in San Antonio and was buying more of the grid interfacing. They asked me what I used it for, and as luck would have it, R2D2 was in my car as he was getting delivered that evening. They hired me on-the-spot to teach a class on the grid interfacing technique. Ps: Link to the class info is over here. This is the little table topper sample I made for the class out of two mini charm packs in Moda's Fragile. 

Then I might have lost my mind a little. I love science and data, but it went a little extreme. I decided I needed a BIG sample to show the students. And I also thought it would be helpful to have a comparison quilt. Armed with my love of bunnies and a pattern from YouPatch, I dove right in. This first quilt is the traditionally pieced version.

And this is the version pieced with the pre-printed grid interfacing (sooo many seam lines).

Now I had to compare the two. After endeavoring to finish them exactly the same: same batting, same backing [only in different colorways], same binding [differing solid colors], both all in the same brands of solids, and quilted with the same brand/weight of thread in as close to the same places as I could manage, differences emerged. Here is a compilation of the differences I observed both throughout the construction process and after finishing. 

So basically, they are both great techniques, and like everything in life, they both have their own quirks and problems. I am not willing to say that one technique is better than the other, because it simply depends on what you are looking for, and what your preferences are. If you have any questions or need any clarification, feel free to shoot me a comment here or over on my IG (@opal.august). 

30 October 2016

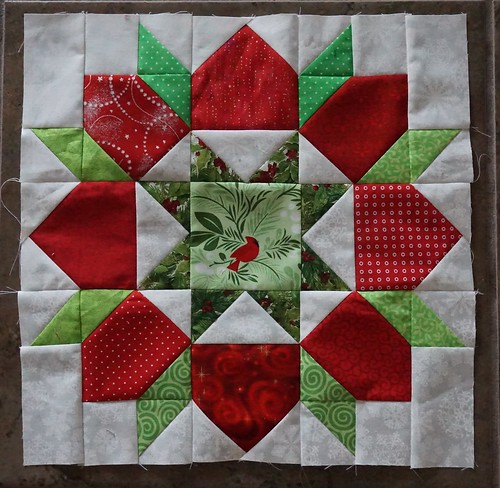
Honey Hill Block

***EDIT: IF YOU ARE JUST NOW MAKING YOUR BLOCK, PLEASE USE RED AND WHITE/LOW VOLUMES!!***

I know, I never blog anymore. This really does not even count as a blog post as it is just a way to convey information to my fellow Honey Hill Pinheads about a bee.

So, for my block month, I am going to give two options.

Basically, I made this bunny quilt to donate to the rescue organization I adopted my bunnies through.

The woman who adopted my foster bunny requested one in a larger size, so to scale it up, I am going to put borders of X-Plus blocks on the right and left, and Kaleidoscope blocks on the top and bottom. Since some people seemed new to paper piecing, I figured giving one paper pieced option and one non-paper pieced would be prudent. Here are all the specifics for what I would like.

X-Plus blocks (aka the traditionally pieced block) 

  • The tutorial can be found here: http://badskirt.blogspot.com/2011/04/japanese-x-and-scrappy-quilt-tutorial.html
  • For the focal fabric, please use differing shades of blues and greens. Feel free to swap the placements from the little diagram I included. It can be scrappy, or not. Whichever you feel more comfortable with. I would prefer not too many solids. 
  • For the background (I marked these with tan in the diagram), please use some kind of low volume cream/tan.
  • Please use red and white/low volumes
Kaleidoscope (aka the paper pieced pattern)
  • The tutorial is found here (link to printable template is on the top right of the tutorial page): http://www.quilterscache.com/K/KaleidoscopeBlock.html
  • Please use a combo of either light blue/dark green or light green/dark blue for each individual block. 
  • Please use red and white/low volume
  • The tutorial says that it makes a 12" block, but really, each little kaleidoscope block is 6.5" when unfinished. I do not expect you to make 4, but if you want to make more than one, go for it! So if you only want to make one, only print one copy of the template. 
  • If you do make more than one little block, please do not yet sew them together. I will work on placement based on colors. 
  • Please make sure the template is actually printing out at the correct size. 
  • No need to trim the final block down, that way if some did print a bit off, I can size them. 

14 October 2015

Two Sashiko Projects

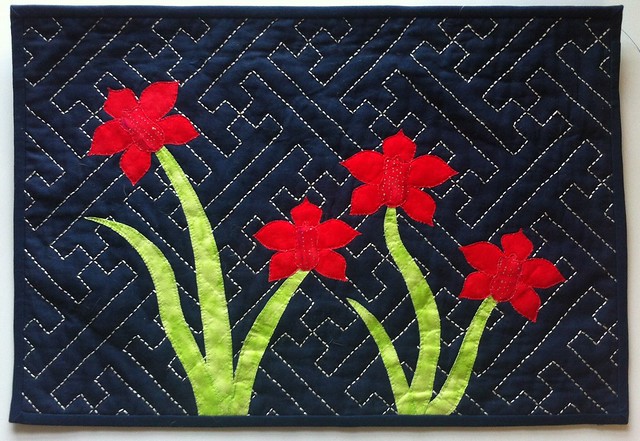
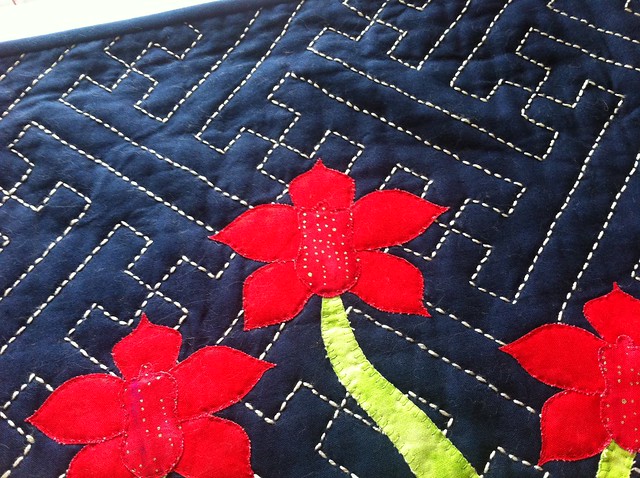
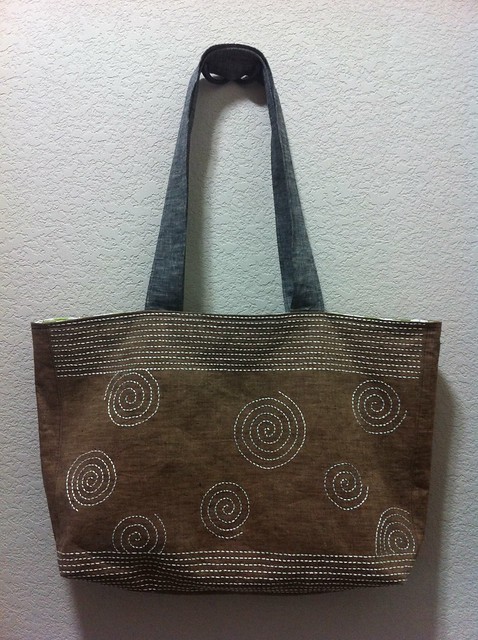
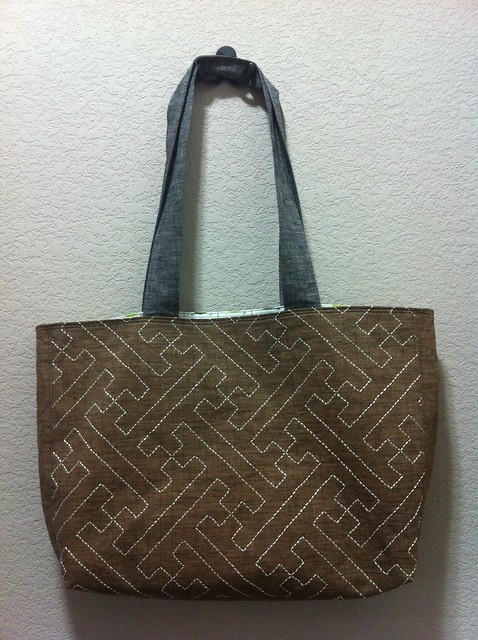
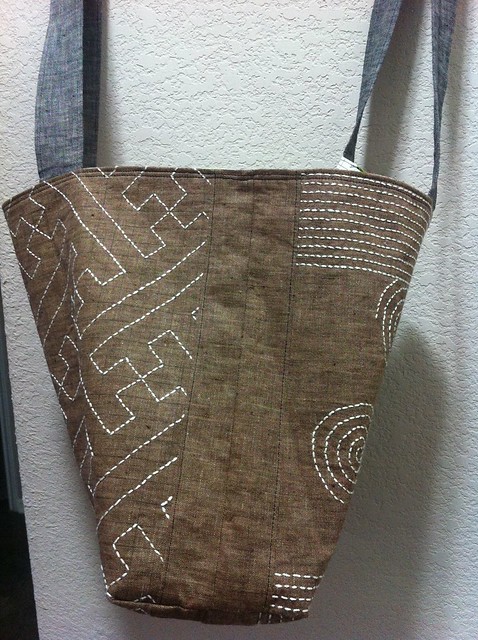
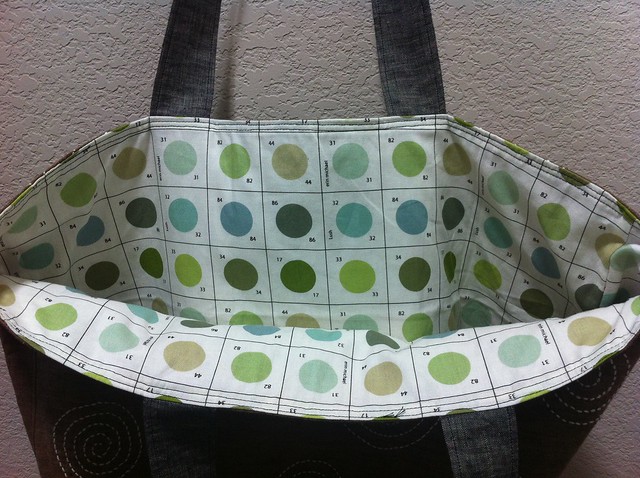
Sashiko and orchids wall hanging quilt, sayagata background quilting. Sashiko and orchids wall hanging quilt. I used a spotted fabric for the lip. Sashiko tote bag, side 1, yokogushi rows and Archimedean spirals. Front 1 of my sashiko tote bag, with traditional sayagata stitch design. Profile of my sashiko tote bag, showing a teeny bit of both sides. I went with Lush fabric for the lining.

Small Quilted Thingamajig Catch-Up Post

I made this for a mini-swap. Not too shabby for my first DWR!
Mug Rug Revival- My first mini DWR block.

I even liked the way the back turned out.
Mug Rug Revival- It's rare that I like the back as much as the front of something I make, but this is one of those times!

This was what I made for the spring pillow swap.
I forgot to take an overall shot.

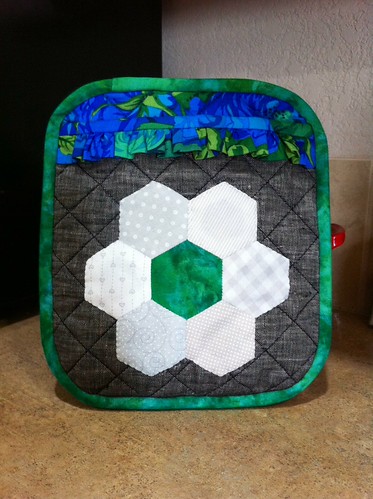
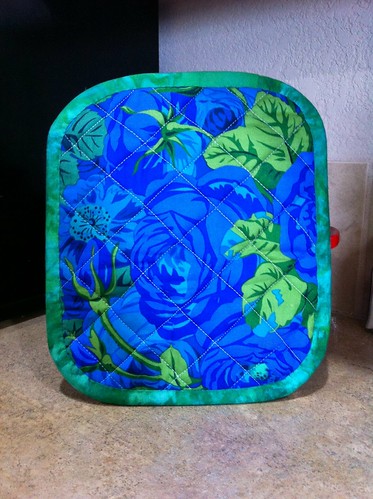
I had been desperately wanting to do some low volume EPP... The result made me not so happy. But meh. Luckily it is a potholder so it will be covered with sauce anyways.
Finally finished a potholder! It doesn't look exactly how I planned, but it is functional and relatively pretty.

Here is the back with the quilting. I also forgot to change the bobbin thread. Meh, all around on this poor potholder.
Finally finished a potholder! It doesn't look exactly how I planned, but it is functional and relatively pretty.

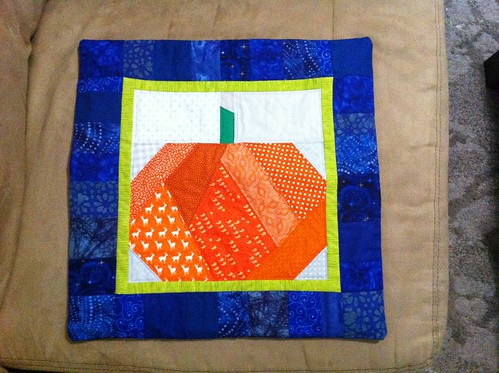
This was what I came up with for the fall pillow swap...
Finished Fall swap pillow

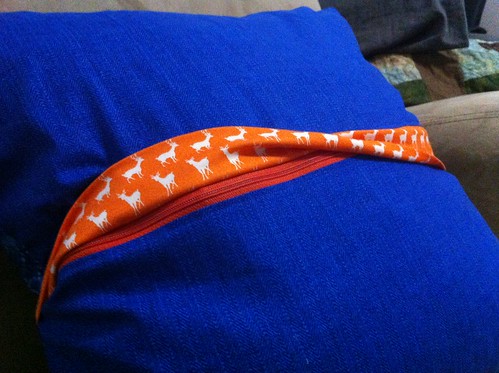
Back zipper/envelope closure.
Finished Fall swap pillow

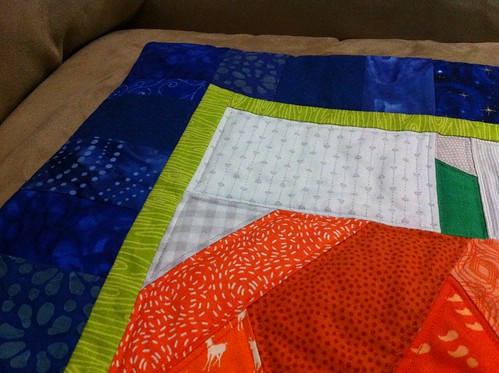
Fabric close-up
Finished Fall swap pillow

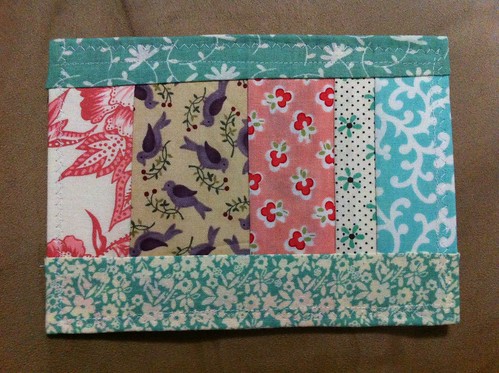
Then I made a postcard for absolutely no reason whatsoever. Wooo.
Postcards + quilting = happy Sabrina. This one needs a home.

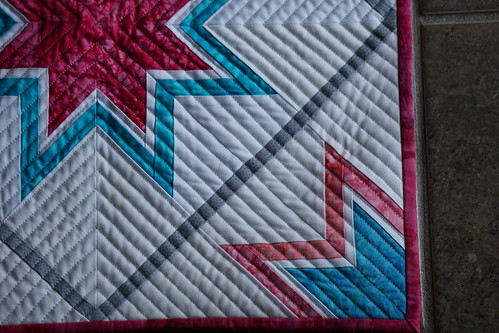
This was what I came up with for the Teal Mini Swap for Ovarian Cancer on Facebook. It is a Lone Starburst.
Teal Mini Swap

I got a little crazy with my new walking foot. Oooops!
Teal Mini Swap

And this is what I'm working on for the winter pillow swap. To be continued...
Is this going in the right direction?

Gratuitous Catch-up Food Post

This post will cover all of the new and exciting recipes I have tackled since April. Wow. I am bad at updating. Let's start in the past and work our way to the present...

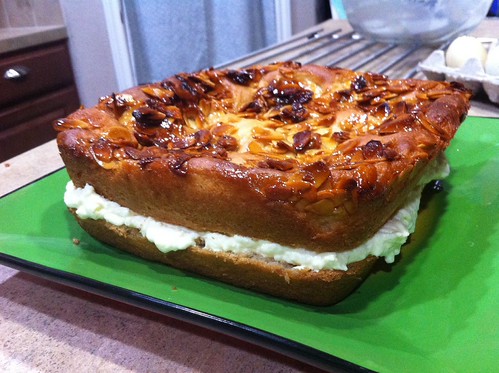
I got married (June 5th)! We made our own cake! It is a German beesting cake
Beesting cake with Bavarian cream. I cook when my brain won't turn off.

Sourdough rye breads (James Beard recipe)
Saturday Sourdough: James Beard's sourdough rye recipe.

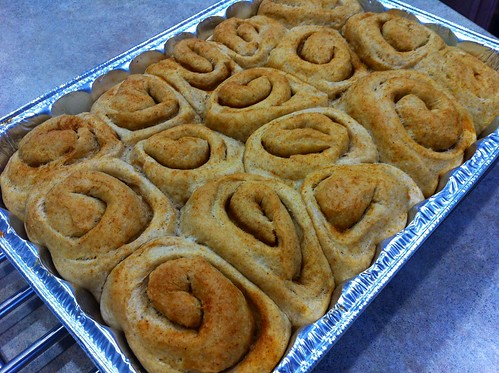
Buttery sourdough paprika rolls
Whole wheat sourdough rolls with paprika butter!

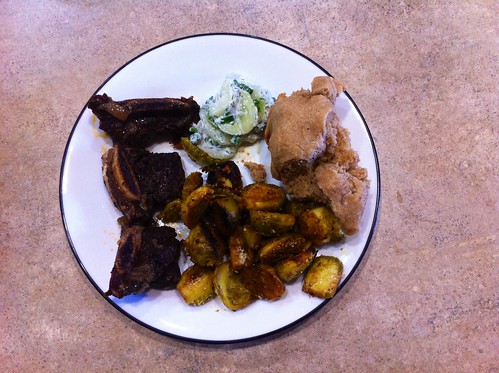
Braised short ribs, our first meal to cook together as a married couple!
Our first meal to cook as a married couple. <3 Braised short ribs, Brussels sprouts, cucumber salad, and rosemary focaccia.

Roasted veggies
I'm not sure what I love most about roasted veggies: their taste, smell, or appearance!

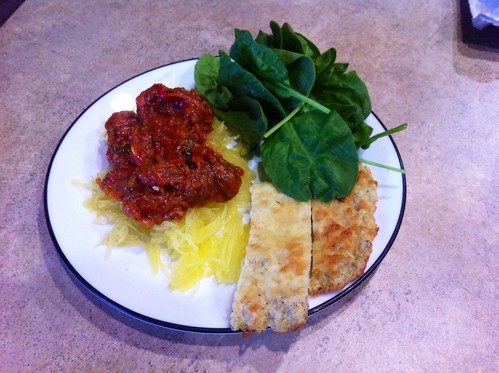
Spaghetti squash with homemade marinara and quinoa sticks
Spaghetti squash, roasted marinara sauce, quinoa cheesy "bread", and spinach salad! Omnomnom.

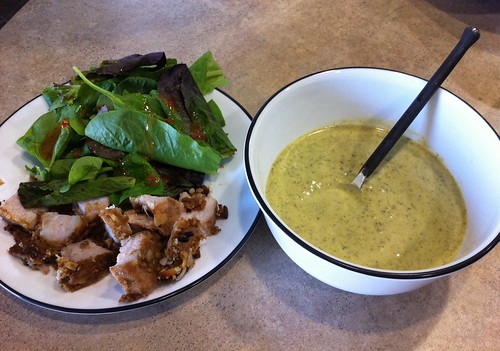
Pork chops and roasted poblano soup
Nothing like making poblano soup and pork chops during 100 degree weather to take the edge off!

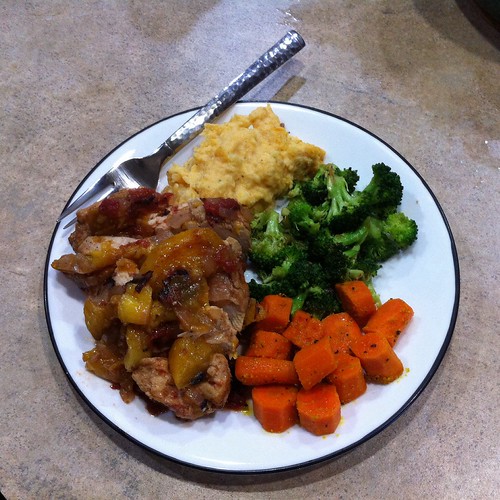
Peach chicken with veggies and mashed cauliflower/sweet potato/red potato
Peach chicken, mashed red potato/sweet potato/cauliflower, with steamed broccoli and carrots.

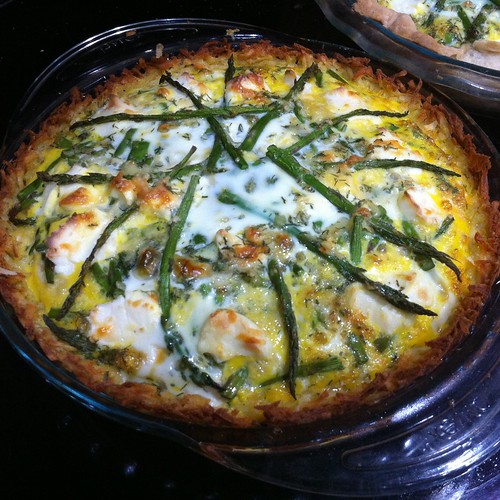
Mushroom, garlic, salmon, cream cheese, asparagus quiche with standard crust
Nearly everything quiche, with standard quiche

Mushroom, garlic, salmon, cream cheese, asparagus quiche with hashbrown crust Nearly everything quiche, with hashbrown crust

04 March 2015

Food and Swaps

I am catching up on blog posts, so bear with me. This will be a quick one.

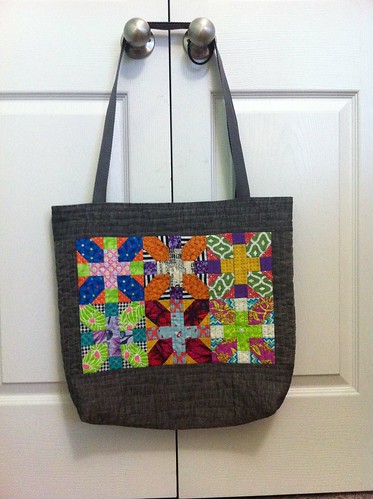
I made this tote for the Sew Sew Modern 6 swap.
Untitled

This is what I'm tentatively working on for the Mug Rug Revival swap.
Partner, is this any good or should I try again with more colors of the rainbow?

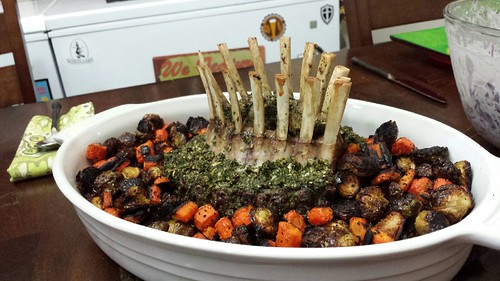
This is the Valentine's Day Feast I made for my fiance, mom, and cousin: Crown rack of lamb with roasted veggies.
Untitled

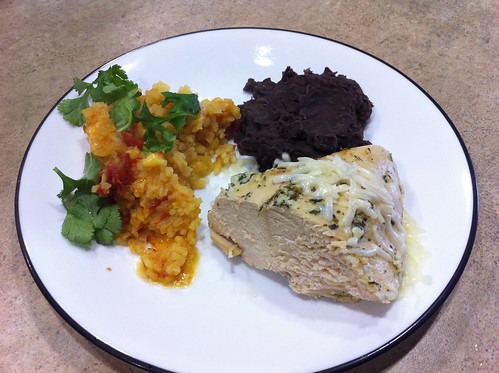
I also made this from an episode (Frontier Fiesta) of the Pioneer Woman show: Tequila lime chicken, refried black beans, and cheesy rice casserole. We loved the chicken and black beans, but the rice was slightly boring. I would rather just make my great grandma's Mexican rice.
Untitled