Showing posts with label LYOF. Show all posts

25 June 2014

Eyeball Finish!

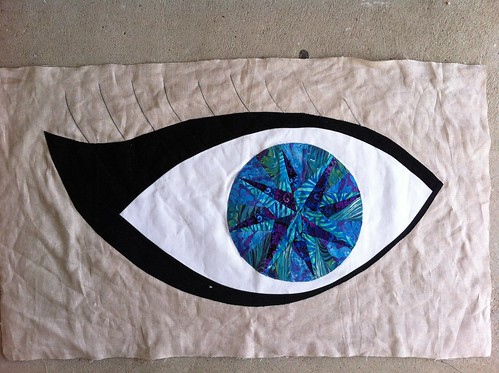
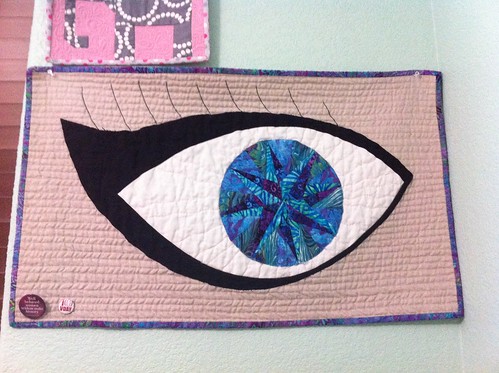
I am frantically trying to finish writing my new lab manual, so I really haven't had much time for sewing. Luckily I did finish my LYoF goal for the month, the eyeball quilt! Original link-up post is over here.
Untitled

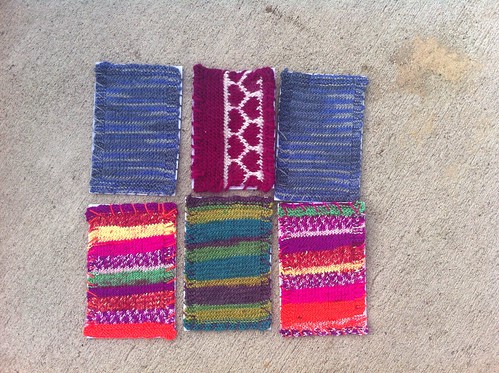
I have also been knitting some postcards for Postcrossing. I have already sent one to someone in Hong Kong, thanks to Postcrossing. I came up with a basic tutorial if you want to make some yourself.
Untitled

They DO make it through the mail, though you have to drop it off at the post office and pay a little extra because it can't go through the machines and needs to be sorted by hand ($0.70 for domestic, $1.35 for international). I sent one to my friend and she shared this photo with me after it arrived. Thanks, Toni!

01 June 2014

Eyeball: June LYoF

Before I knew much about quilting (like 4 years ago), I decided to make an eyeball quilt. I didn't know what paper piecing was. I didn't know how in the world to make a y-seam. I didn't know how applique worked. I had no idea to piece curves. I was also completely self taught. So deciding to make a curved eyeball with intricate piecing and y-seams was a totally realistic challenge. NOT!

What was I thinking??

Four years ago, this was the best I could come up with. I'm still amazed that I did the star without paper piecing! The middle is a little wonky because I didn't know how to stitch stuff together. Also the applique was grotesque.
Eye

About one year ago, I finally picked it back up. I un-appliqed the iris and did a much better job. I also picked this as my first try at piecing curves. So the whites of the eye are actually pieced to the black cat-eye makeup.
Pieced my first curves!

I also added some eyelash quilting to spruce it up. Then I got stuck AGAIN and let it sit.
Eyelash quilting on my eye quilt

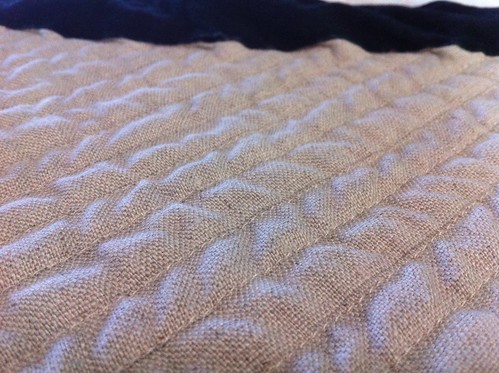
I picked it up again in the beginning of this year and decided to add in half inch spaced straight line quilting on the background fabric.
Untitled

Now I'm making it my April Lovely Year of Finishes goal to finally finish this! All that's left is to decide how to quilt the whites of the eye, then to do whatever that is and to bind it! This should be totally do-able. Right?

Wait a minute, if this was totally do-able, wouldn't it be done already?!

06 May 2014

May LYOF Goal

My goal this month is [not-so] simple. It is something I have never done before. Well, not exactly. I'm going to paint a barn quilt for my chicken coop. That would make it a coop quilt, huh? Oh well. Whatever you call it, I'm going to paint it because I can't spend my life waiting for a barn that might never happen! 

Here is a rough approximation of the color palette I am going for. It is based on one of my favorite outfits. I have a dress in the coral color that is a bit too low cut to wear for teaching. To get around this it gets layered with sports bras. The two sports bras I find myself wanting to couple it with are purple and teal, so bam! Color palette!  


This is the design I have more or less settled on (though don't ask which color will be which!). I think it would make the chickens happy. Side note, chickens can actually see in color, so it is very important to make sure the colors are arranged in a pleasing design. This is a submissions for the Accuquilt contest by Mary Kay Davis. 


So far I have purchased a "2 foot x 2 foot" piece of plywood, taken that back because it was actually 23 and 7/8" x 23 and 7/8", bought a 3' by 3' piece of plywood, picked/purchased paint, used wood filler to fix the knots, sanded it smooth, and painted the background grey color. Here is my blank canvas.


And here it is with the grey background. 


Now that the grey has dried I'm working on marking and taping up the design so I can paint the colors one by one. To finish this on time each color has about a week to get painted, and that will still leave a chunk of time for touchups and/or unforeseen delays (like end of semester grading, and two back-to-back weekends of different friends staying with us).

29 April 2014

Dresser Runner Finish and More

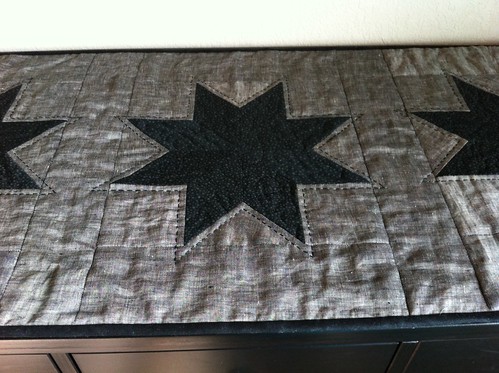
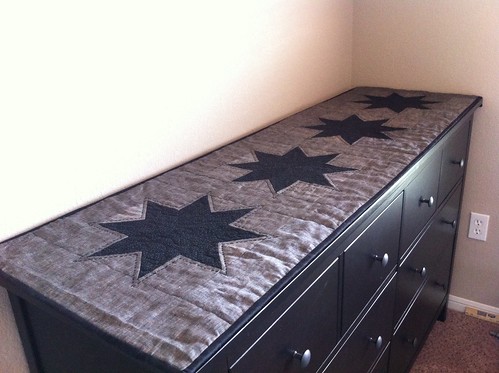
I finished my Lovely Year of Finishes goal for April: My EPP table dresser runner! I love it! I ended up doing FMQ inside the stars and added 1/4" echo quilting around the stars, by hand.
Untitled

I love the way it turned out! In case you are interested, the dresser is called Hemnes from Ikea (their solid wood line).
Untitled

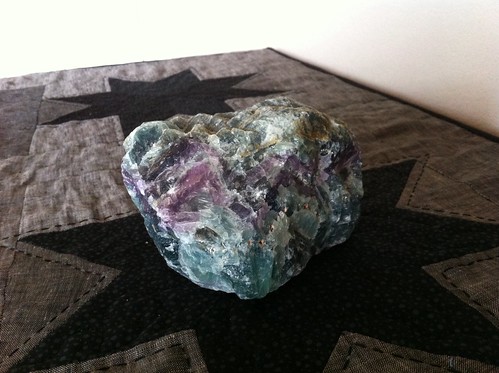
Now that my Hemnes is protected from scratches, I can start covering it with rocks to avoid any accumulation of clothes on top of my dresser. This is my favorite hunk of fluorite!
Untitled
In case you want to see the progression of this project, here are all the links.
EPP blocks being assembled
Front complete (LYoF goal link-up post)
Basting done
FMQ done
Hand quilting done

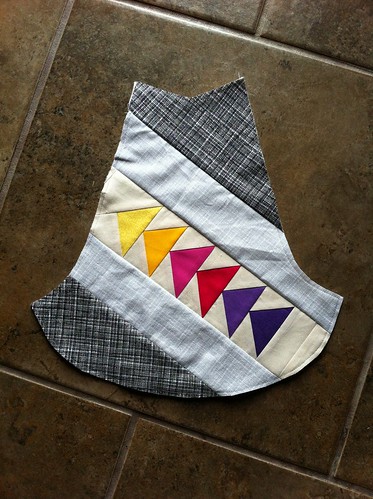
I also made progress on the 241 tote I'm making for my secret partner in Super Swaps.
Super Swaps. One side of a 241 tote.

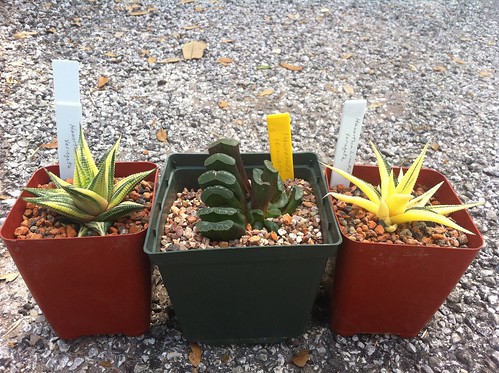
And lastly I am going to leave you with my new plants from the San Antonio Cactus/Succulent show this past weekend. The two on the outside are both Haworthia limifolia var variegata, and the one in the middle is a Haworthia truncata. I had never seen the varigated limifolias before and I was torn between the two but settled on the left one. My boyfriend's mom could tell I was agonizing over making this decision and then second guessing myself once I had made it, so she bought me the one on the right as an early birthday present! Thanks, April!
My new Haworthias!

27 February 2014

Plenty to do

This month for LYoF, I am going to divide my attention between two main goals. First off we have my Pantone challenge quilt. This is my fabric haul for it. The two left fabrics are solids and the second from the right is a shot cotton. I have never used shot cotton before and I am loving it! I have a design and everything is cut. Stay tuned for progress!
Untitled

My other main goal for the month is to finish up my bag for the Secret Tote Bag Swap. (Is it cheating is both of these HAVE to be done this month?) This is the main panel I have come up with. It is now trimmed and on its was towards becoming a bag.
Partner: If this giant panel turned into a tote, would you be able to love it? The lighting is a little off.

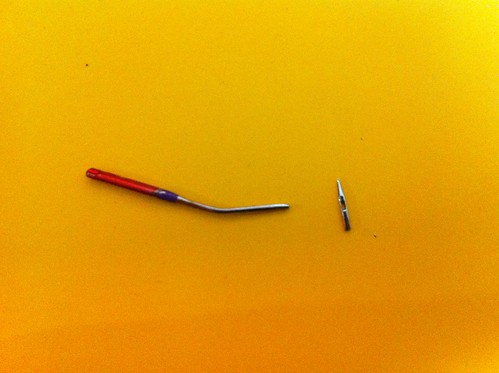
While I was working on the boxed corners for the tote last weekend I broke not one...
Uh oh.

But TWO needles! Dang. This second one was even a brand new denim needle! There are just so many layers in this bag. I might have been a tad overzealous in my plan. Oh well. With a third needle I was able to get the corners done!
Aaaand I broke another needle. This tote bag is going to be the death of me!

I also served as a pattern tester for TartanKiwi and came up with this lovely badger (pattern is now available for free over here). I named her Constance after the badger in the Redwall books. She is going to be the focal block in a tote bag for a friend of mine who is ironically named Constance. (She goes by Connie and would kill me if she knew I just called her by her birth name!)
Badger

In an exciting twist of fate, I actually won something! Something gorgeous! I won all this fabric from Cuts of Cotton! I have no idea what to do with it.
Untitled

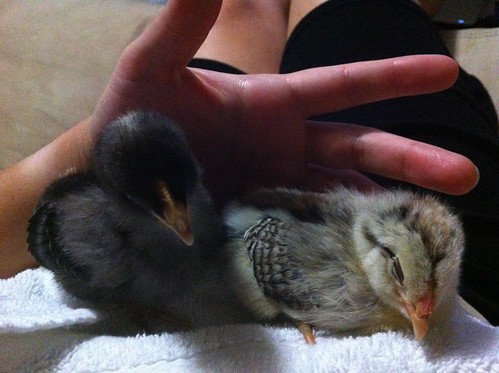
Then of course we have the chickens. They are thriving. Here they are at 11 days old, learning the joys of napping in laps.
At 11 days old they have learned the joy of napping in someone's lap. I'm hoping to master napping someday.

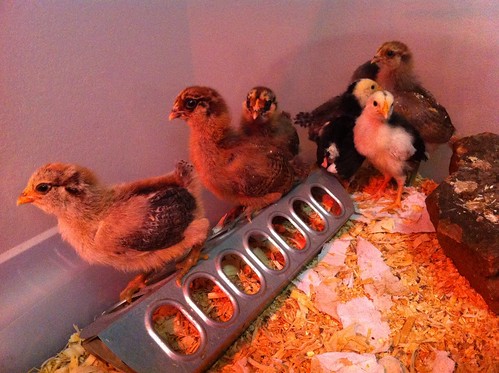
Two weeks old.
Two weeks old!

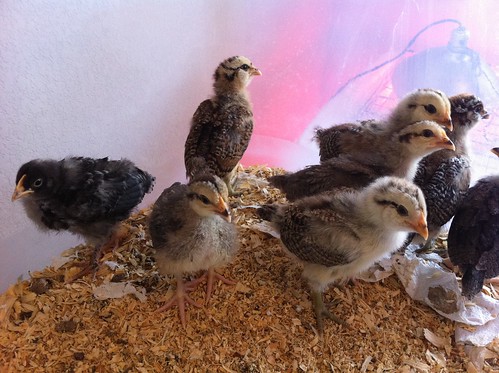
 Now 18 days old and huge!
18 days old

23 February 2014

Quilted Cedar Chest Finish

A few years ago, my mom bought be an old cedar chest (Virginia Maid by Lane) because I had been wanting one and she refused to part with hers. It had good bones, but was basically hideous. I didn't actually take any pictures of MY cedar chest, but found these of the same model. The first one shows the same wood finish as mine with a clean upholstery cover while the second one shows a different [lighter] wood finish than mine but with upholstery closer to the disgusting condition mine came in.

I immediately knew that the cover had to be changed. Being a quilter, I had this secret yearning to piece and quilt the cover. The original was just stapled to a piece of particleboard with a thin layer of fluff between them. This cedar chest was going to double as living room seating, so it needed a little more cushion. I went with 3" furniture foam. 

Apparently I'm super picky because the original knobs on the chest were deemed too lame to live (not to mention filthy!) and had to go. See?

Last summer while in Ireland with my boyfriend and cousin, we found a store called Knobs and Knockers that sold... Knobs and knockers! I was able to find a tremendously better option! Aren't they gorgeous?? Yes, my main souvenir from the trip was a bag of drawer pulls. 
Untitled

Now I should stop blabbing and get to the good stuff. Here is a view of the FMQ on the cushion. The cushion itself is held onto the chest with industrial strength velcro.
Untitled

The cover was made out of one solid piece that had a seam up the middle of the back [well most of it. I had to leave some unstitched to turn it right-side out], then the sides were sewn up and the corners were boxed to 3" to fit the foam. Then the foam was stuffed back in and the gap in the bottom that was left unstitched for turning was closed with skinny velcro.
Untitled

And here are some overall shots of the whole thing!
Untitled

Some of the detail on the back edge gets lost behind the foam, but having a comfortable place to sit was vastly more important to me.
Untitled

Now I'm aware that some furniture restoration experts would say I messed up by not refinishing the surface, but I don't care. I took something practical but [in my humble opinion] hideous and gave it new life! Plus, now it is pretty and way more comfortable to sit on!

Hard to believe I finished this in time for February's Lovely Year of Finishes. Woot! Here are the milestone links in the process of finishing this beauty!

"Quilt" front done (LYOF link-up)